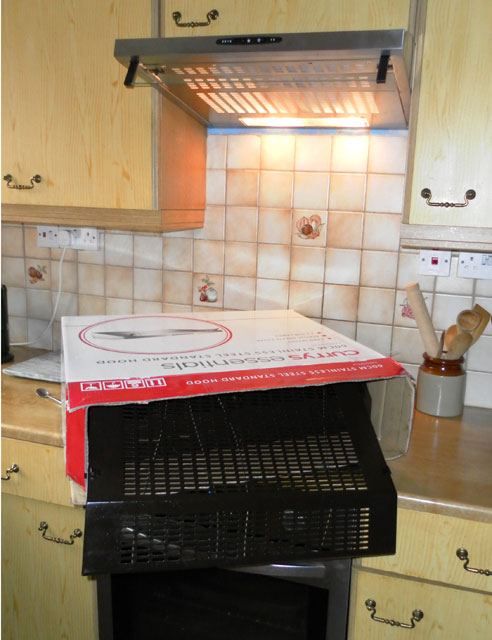
 So, the extractor hood in the kitchen dies. Off we go down to the electrical store to get a replacement. There’s a nice shiny replacement available for a reasonable price. On the box it says ‘Standard Fitting’, which I naïvely mistook for ‘old hood comes down, new hood goes in its place’.
But no.
Now, if I’d been writing the instructions in the manual, they would have gone something like this…
- Remove old unit (the easy bit)
- Due to EU regulations, your nice new cooker hood has a moulded plug which must be cut off in order to get the wire through the existing hole in the kitchen unit. This can be done in about half an hour by pushing the wire between the wall and unit and then trying to tease the end trough the hole using a wire coat hanger (shouting and swearing optional).
- Offer the new unit up into the space left by the old unit. You may find that your new hood is less deep than your old one and therefore the kitchen tiling will not cover the wall immediately underneath. If this is the case, tough titty.
- Gently ease the unit up into the space so that the exhaust vent protrudes through the existing hole cut in the kitchen unit. You will find that our vent is 1/2″ larger than the old one and you will have to enlarge the hole with a jigsaw you don’t fucking own. By this time you may find that the hood is getting too heavy to lift and will have to drop it and start from No.3 above.
- Once you have bought/borrowed/stolen a jigsaw that you will probably never use again in your pathetic life, repeat points 3 and 4. You will now find that due to the fact that we fucked you about with the diameter of the outlet, your existing flexible ducting diameter is 1/2″ too small. You now have two options: a) Rip existing ducting out and start again with proper diameter, or b) Bodge the end of existing ducting using pliers, Stanley knife and copious quantities of Gaffa tape in order to make it fit.
- By this time you may find that the hood is getting too heavy to lift and will have to drop it and start from No.3 above.
- Now that you have made the join of your vent and flexible ducting resemble a cow’s fucking udder in order to make it fit, resume from point 3, omitting points 5 and 6.
- Once you have managed to locate everything into position (estimated time wastage – approx. 3 hours), you will notice that we have drilled our mounting holes at least an inch away from where the old ones were. This is to mainly piss you off.
- By this time you may find that the hood is getting too heavy to lift and will have to drop it and start from No.3 above.
- Due to point 8 above, you will now have to drill new mounting holes through your kitchen unit. It is noted that due to it’s physical size, you will not be able to fit your power drill into the space available. We recommend you buy/borrow/steal a smaller drill or do this manually.
- By this time you may find that the hood is getting too heavy to lift and will have to drop it and start from No.3 above.
- Once you have drilled the mounting holes, you may use the provided bolts to secure the unit in position.
- Installation is complete. You will now find that the kitchen unit door above the hood will not close due to catching on the hood. Please adjust the door hinges to suit.
- Wire a plug to the cable to replace the perfectly good one you cut off in point No.2 – you can use the one from the old (dead) cooker hood.
So that’s it. Piece of piss!
All that was left was to switch it on, which I duly did and… it didn’t work. Hmmm, what could be the problem? Fuse? I changed the fuse and the hood fired up.
The moral of this tale is… check the fucking fuse first.


Comments 1
Numb nuts!